OAK Appliance is a standalone embedded hybrid Asterisk IPPBX for Small/medium Office and Home Office. OAK Appliance also offers a hybrid solution (a combination of VoIP applications using legacy telecom equipment) alternative for enterprises who are not yet ready to migrate to a complete VoIP solution.
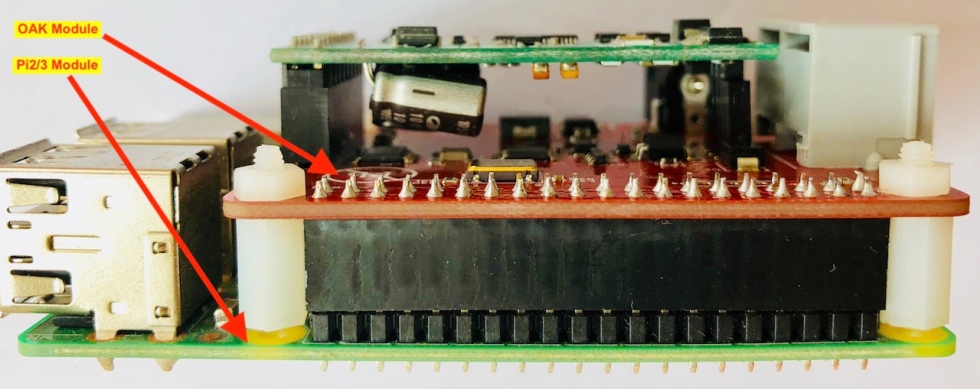
OAK Appliance is open hardware/software designed Asterisk IPPBX, It is based on the powerful Allwinner H5 SoC that SoC features a Quad-Core 1.5G Cortex-A53 ARM CPU (ARM64 architecture), and a Mali450 MP4 GPU from ARM.
Specifications:
- ARM64 Quad-Core 1.5GHZ Cortex-A53 CPU (*), 512M DDR3 RAM, Onboard 4G high-speed eMMC.
- LAN: One 1Gbps Ethernet
- USB: One USB2.0 port
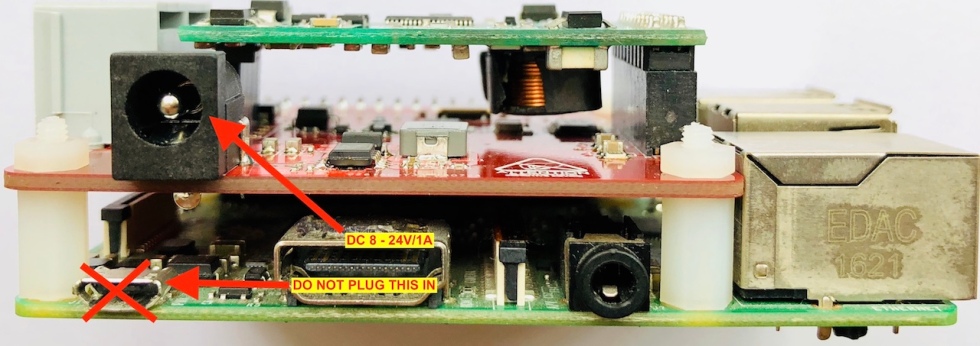
- Power Supply: 9V/2A Power Supply
- Size: 12*12*3MM
- Weight: 400g (4 FXO channels) or 500g (4 FXO plus 4 FXS, 8 channels configured)
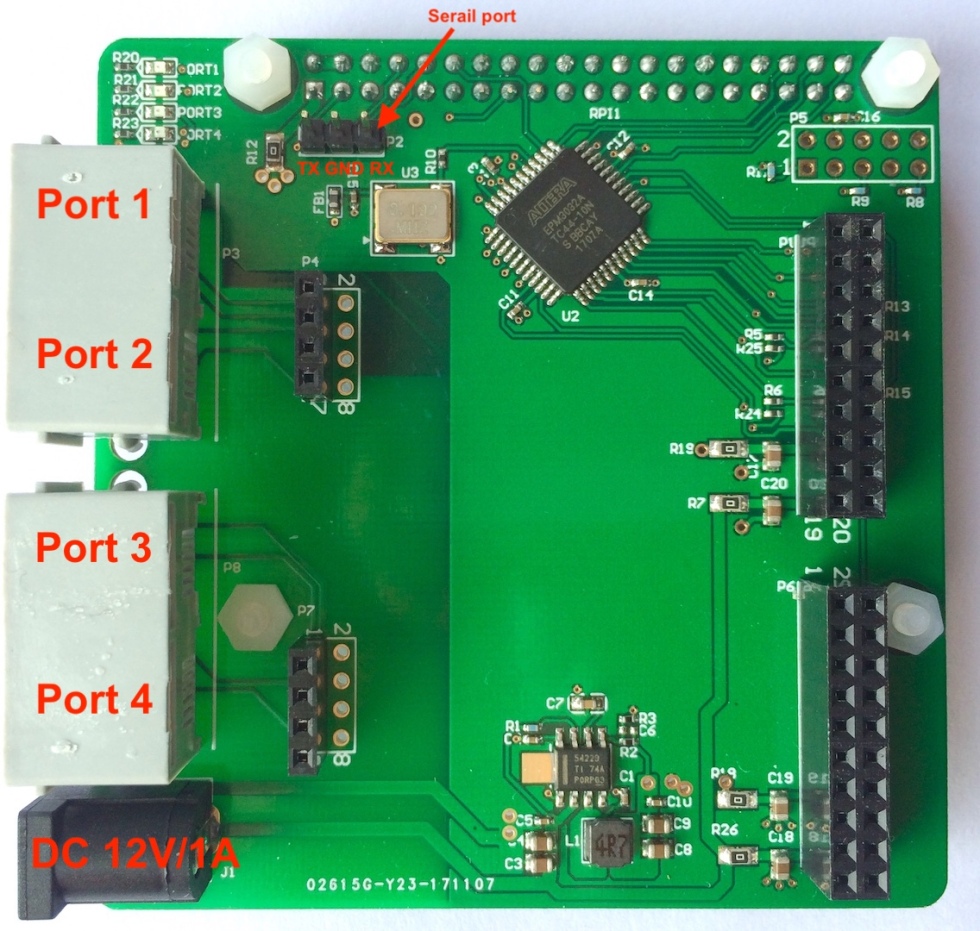
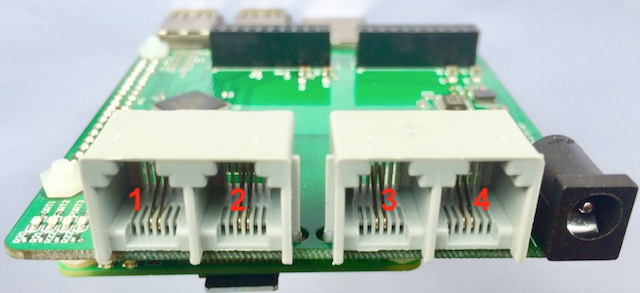
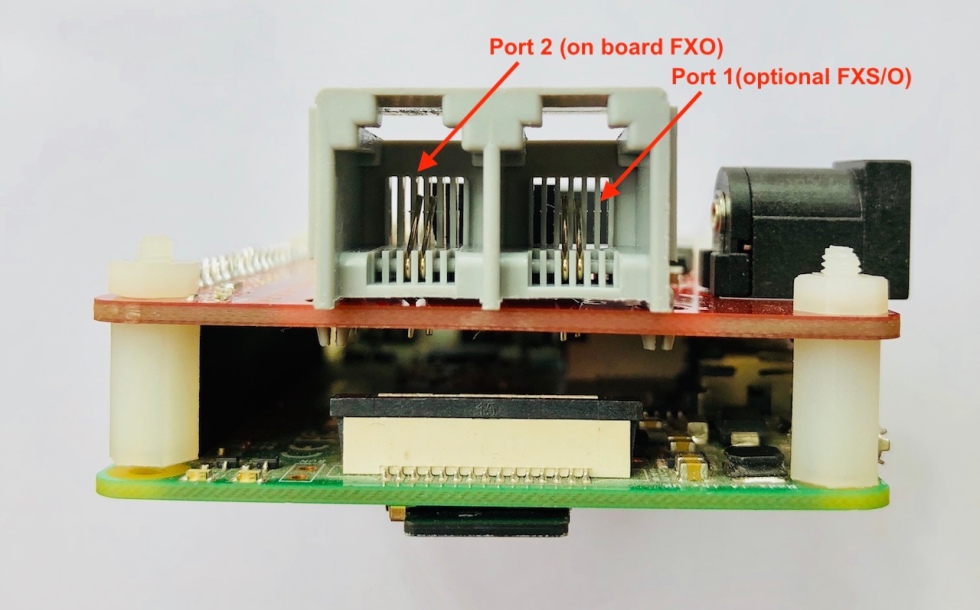
- Asterisk Channels: Up to 8 FXO or 4FXO/4FXS Asterisk channels (4FXS is modulation designed)
- Concurrent Calls(Max): 128 (Asterisk sip)
- Warranty: 1 year
- Approves: CE/FCC (**)
Firmware:
- Asterisk 13.20.0
- Dahdi 2.11.1
- The OAK Appliance fully supports the SwitchPi own GUI.
- The OAK is fully open hardware and software designed, get started in https://github.com/lixinswitchpi/oakapp
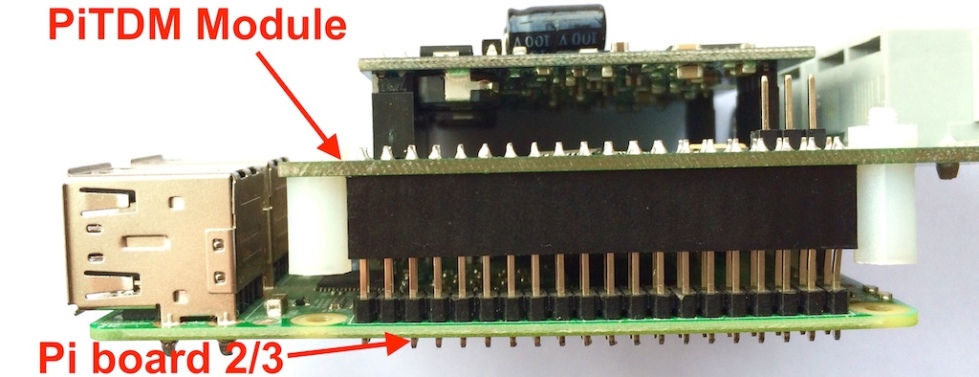
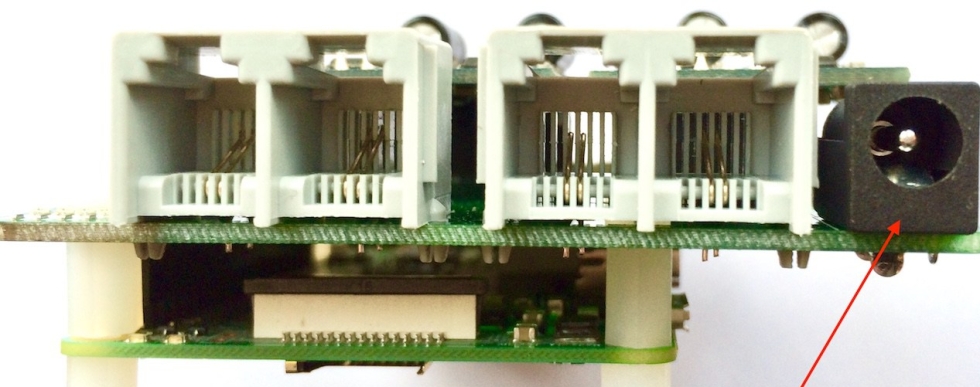
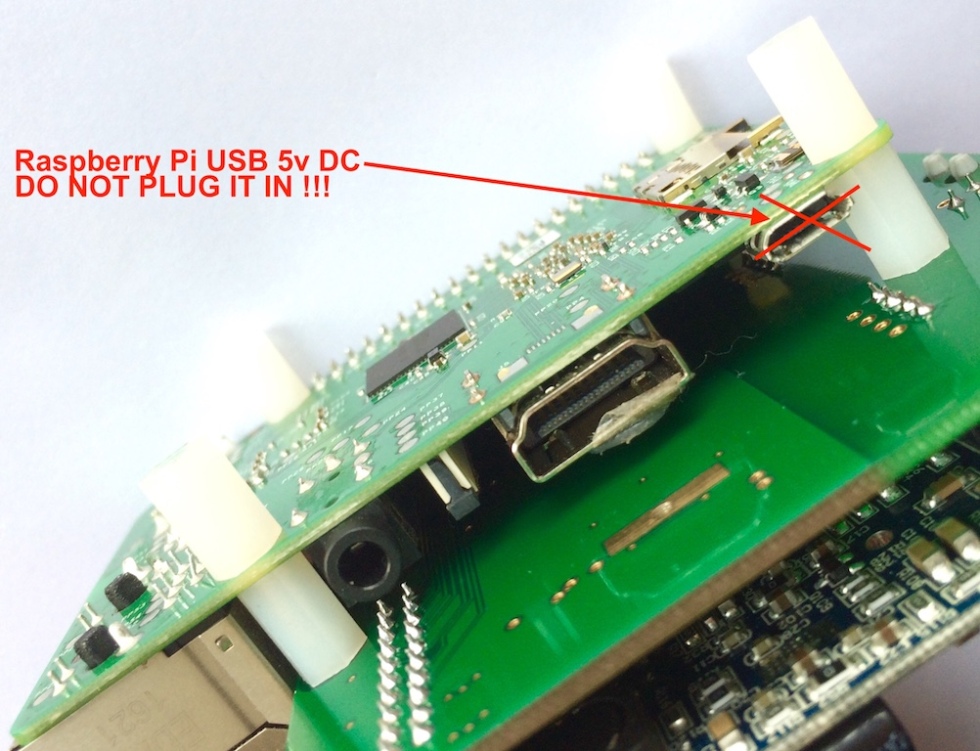
Pictures:


*: The OAK Appliance runs on 1.2GHZ in default.
**: On the testing lab
Custom Service:
We provide the professional custom service for the OAK Appliance, such as:
- Increase the DDR3 RAM to 1G, 2G bytes
- increase the eMMC to 8, 16, 32G bytes
- Add another Ethernet port, USB port
- Increase the Dahdi channel number from 8 to 12, 16, 20, 24, 32, even up to 64 channels
- Print your own Logo to the enclosure, different colour of the enclosure
- Add
SwitchPi DSP hardware ITU-T Standard G.168 Line Echo Canceller in 8, 16, 32, 64, 96 and 128 channels with 64ms, 128ms filter length.
If you are interested in the custom service, fill up the below form with your requirements.